Leveraging AWS SSO (aka Identity Center) with Google Workspaces

Setting up AWS IAM Identity Center (successor to AWS Single Sign-On), hereafter called AWS SSO (because I have to pay AWS for egress on this site), is an excellent service to help you get rid of IAM users and enforce identity best practices around second-factor authentication, on and off-boarding employees, and assigning the right level of access depending on job function.
Companies using Google Workspaces for email and collaboration can also leverage their Google accounts to access AWS via AWS SSO. The process isn’t clearly documented, and the provisioning support isn’t integrated, so here is a post to help you set it all up.
Prerequisites
We assume you already signed up for Google Workspaces or configured Google for Cloud Identity. The person performing this must be a SuperAdmin and have access to admin.google.com. This post also assumes you’ve set up AWS SSO.
Note: If you have existing users and groups in the AWS SSO built-in identity store, they most likely will be deleted if they do not match existing groups in Google Workspace.
What about Second Note: Throughout this document, I refer to Google Workspace users, but users do not need a Workspace license. Google Cloud Identity users work the same as Workspace users.
Setting it all up
This mostly follows the process outlined by AWS in their blog post How to use Google Workspace as an external identity provider for AWS IAM Identity Center. And kudos to AWS and the team for keeping this blog post up-to-date.
Go ahead and open three browser windows/tabs. One with this post, one for the AWS Console, and one for the Google Admin page.
Start Configuring the AWS SSO Identity Store
Make sure you’re doing this as an IAM User, or you might get locked out of your AWS account
- Navigate to AWS SSO in the console
- Click on Settings
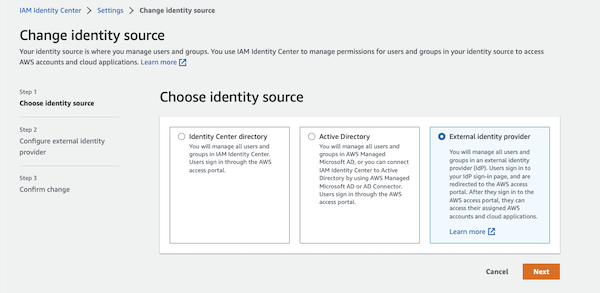
- Under Identity Source, click on the Actions drop-down and select “change identity source”.

- Select “External identity provider” and click Next
Create the SAML Application in Google
-
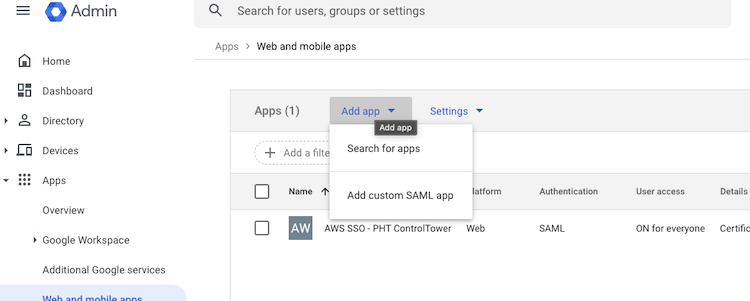
In the Google admin page, click “Add App” and select “Add custom SAML App”
-
Give the app a Name and Description

-
Download the Metadata (you’ll need it in a minute), and click Continue.
-
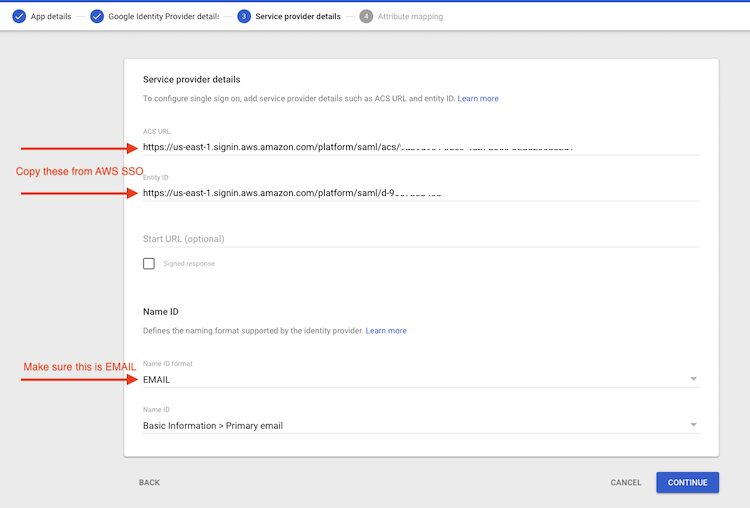
Copy the “IAM Identity Center Assertion Consumer Service (ACS) URL” from the AWS SSO Console to the “ACS URL” in Google
-
Copy the “IAM Identity Center issuer URL” from the AWS SSO Console to the “Entity ID” in Google
-
Make sure “Name ID format” is “EMAIL”, and click continue
-
Leave Attributes at the default and click Finish
-
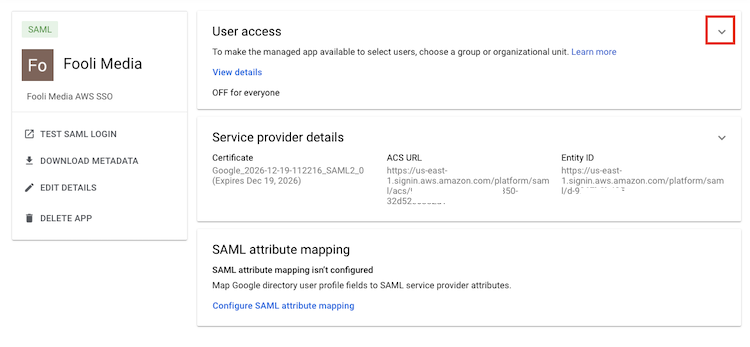
Expand the User Access section and make sure that the “service status” is On for Everyone.

Finish the AWS SSO Setup
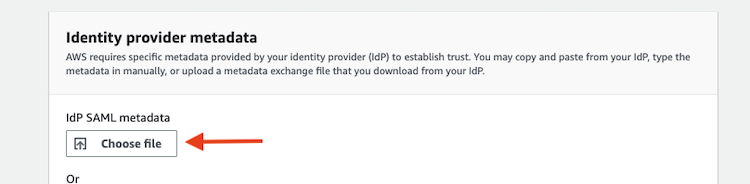
- Upload the file
GoogleIDPMetadata.xmlas the Identity provider metadata in AWS SSO
- Click Next, enter “ACCEPT”, and click “Change identity source.”
Automatic User Provisioning
You can stop at this point and manage users and groups manually. If you create a user in AWS SSO where the username matches the email address of a Google Workspace user, the user will be redirected to Google for Authentication.
If you want to manage all users and groups via Google exclusively, you need to configure SCIM provisioning. Google doesn’t support this natively, so AWS created an open-source tool in Go you can use. It’s available in the Serverless Application Repo for a version that will deploy to Lambda and run on a regular schedule.
Setup Google Project for access to Google Admin SDK
- Go to the Google Cloud Console
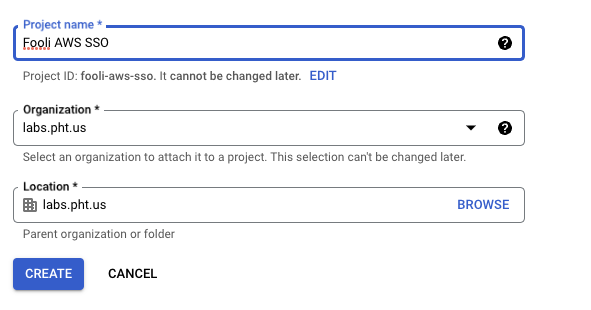
- Create a new project called AWS SSO
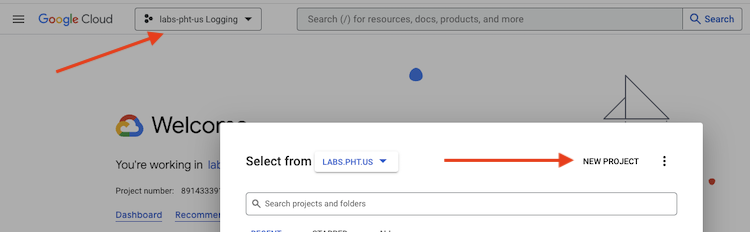
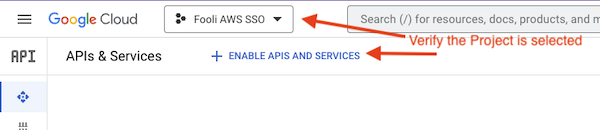
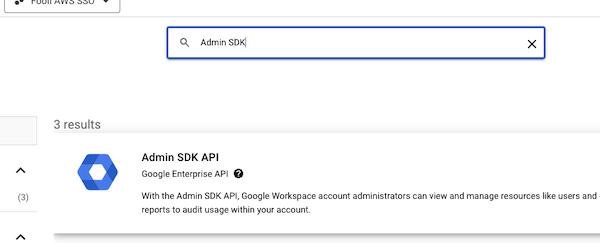
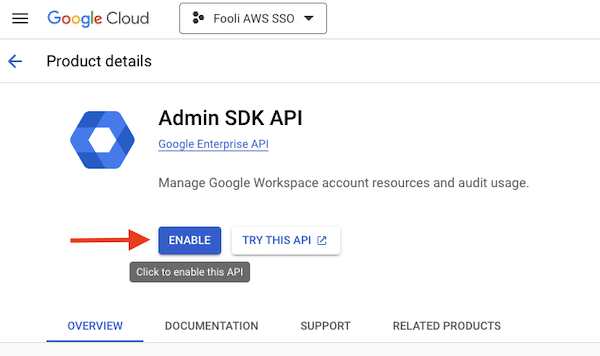
- Make sure the new project is selected and then enable the Admin SDK API
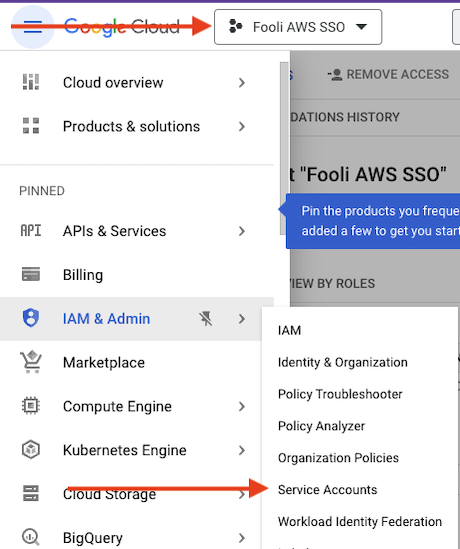
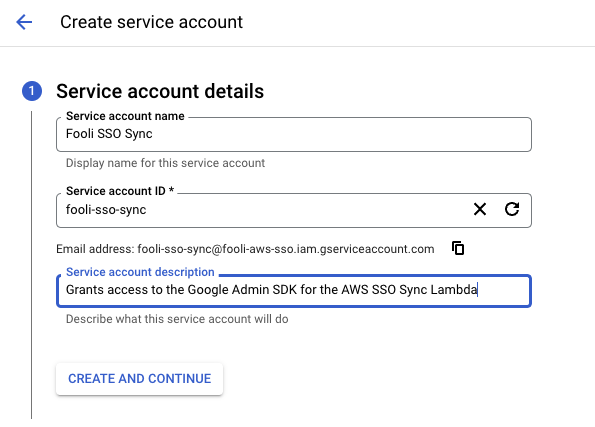
- Now, we need to create a Service Account. Navigate to the IAM -> Service Accounts Page
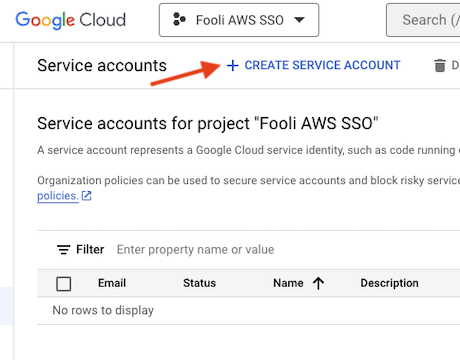
- Click “Create Service Account”
- Fill in the details and click “Create and Continue”
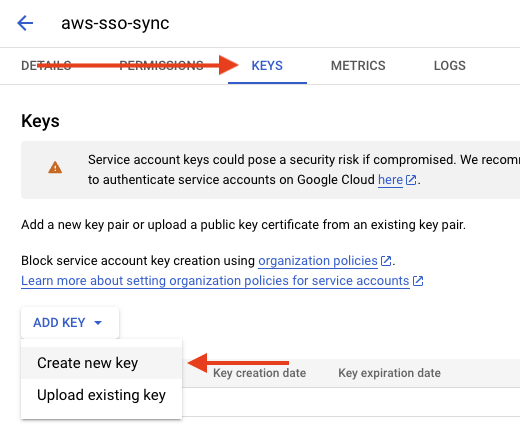
- Now select the user that was just created. Click “Keys” at the top to create new service credentials.
- Then click “Create New Key”, and select a key type of JSON
- This will trigger a file to download with the Google Credentials. The contents look like this:
{
  "type": "service_account",
  "project_id": "fooli-aws-sso",
  "private_key_id": "84d26fb60c.....",
  "private_key": "-----BEGIN PRIVATE KEY-----\nREDACTED==\n-----END PRIVATE KEY-----\n",
  "client_email": "aws-sso-sync@fooli-aws-sso.iam.gserviceaccount.com",
  "client_id": "11643.......",
  "auth_uri": "https://accounts.google.com/o/oauth2/auth",
  "token_uri": "https://oauth2.googleapis.com/token",
  "auth_provider_x509_cert_url": "https://www.googleapis.com/oauth2/v1/certs",
  "client_x509_cert_url": "https://www.googleapis.com/robot/v1/metadata/x509/aws-sso-sync%40fooli-aws-sso.iam.gserviceaccount.com",
  "universe_domain": "googleapis.com"
}
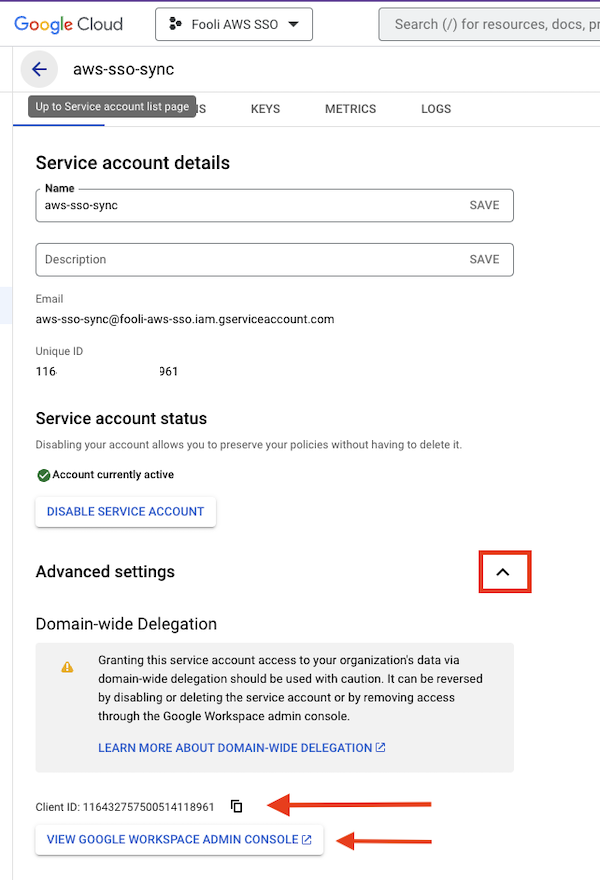
- Configure Domain-wide Delegation for the Admin SDK
- Copy the Client Id
- Open the Google Workspace Admin Console
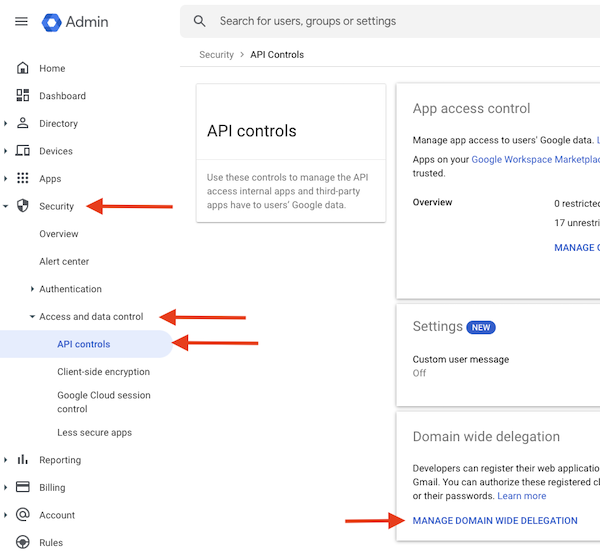
- Navigate to Security > Access and data control > API controls
- Click Manage Domain Wide Delegation at the bottom
- Click Add New at the top, then enter the client Id from Step 1 and the following for the OAuth Scopes:
https://www.googleapis.com/auth/admin.directory.group.readonly,
https://www.googleapis.com/auth/admin.directory.group.member.readonly,
https://www.googleapis.com/auth/admin.directory.user.readonly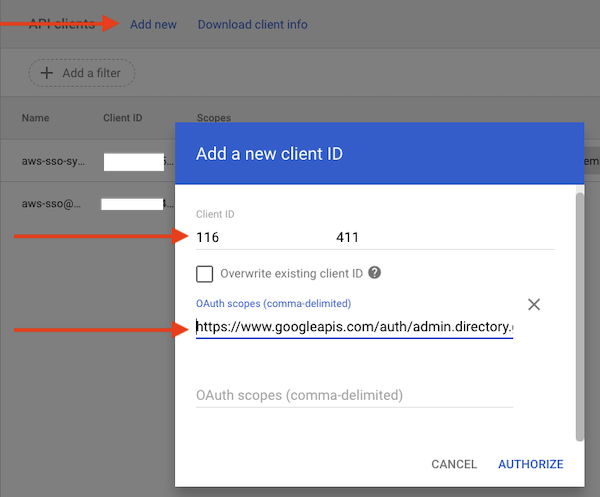
Begin Setup of AWS SSO Provisioning
- Enable Automatic Provisioning

- Copy the SCIM Endpoint and Access Token

- Copy the Identity Store ID (see above)
Now we’re ready to deploy the SAR Application
-
Go to the SSO Sync deployment page
-
Under Application Settings, enter the following:
- Your email address for
GoogleAdminEmail GoogleCredentialsis the entirety of the JSON file from step 9IdentityStoreIDfrom step 11.3 (it begins withd-)Regionshould be us-east-1SCIMEndpointAccessTokenis the token from 11.2SCIMEndpointUrlis the SCIM Endpoint from 11.2- For
GoogleGroupMatchentername:AWS*- this will sync all Google Groups that begin withAWS. GoogleUserMatchisname:*IgnoreGroupsisNoSuchGroup(SAR requires a value here)IgnoreUsersisNoSuchUser(SAR requires a value here)IncludeGroupsisIgnored(SAR requires a value here)- Make sure
SyncMethodisgroups

- Click “I acknowledge that this app creates custom IAM roles.” and then Deploy
- Your email address for
-
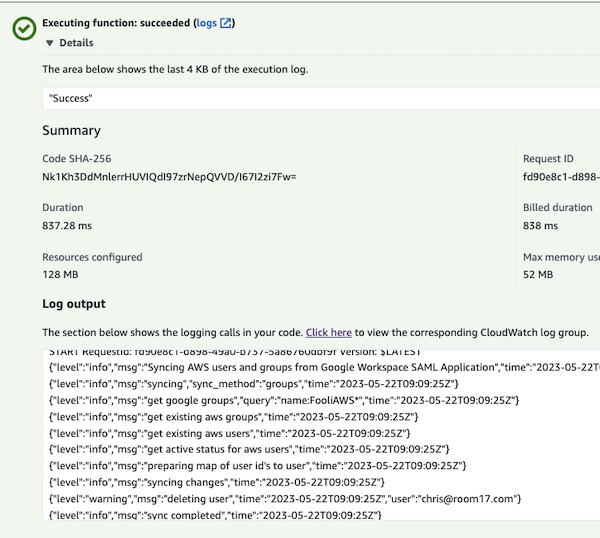
Test the sync
- Navigate to the Lambda Console
- Find the function that begins with
serverlessrepo-SSOSync-SSOSyncFunction - Click the Test tab and then the Orange Test button.
Configure Access for users in Google Workspace
- Create Groups for access to different accounts. Make sure they begin with
AWS - Add users to these groups.
- Re-Run the Sync Lambda like above.
- Now you can add the Users or Groups to AWS accounts by way of Permission Sets
